
Intro
This article is written to guide the installation of XenServer on Virtualizor.
Requirement
- XenServer (6.* | 7.* | 8. *)
- Yum
Partition Scheme
XenServer is not permitted to change the partition scheme much. When XenServer is installed. It will use 4GB space for the OS and the remaining will be given to the LVM volume group. Virtualizor will use the Volume Group for the VMs being created.
Supported Storage Types
(LVM | File | Thin LVM | ZFS | ZFS Thin | ZFS Compressed | ZFS Thin Compressed)
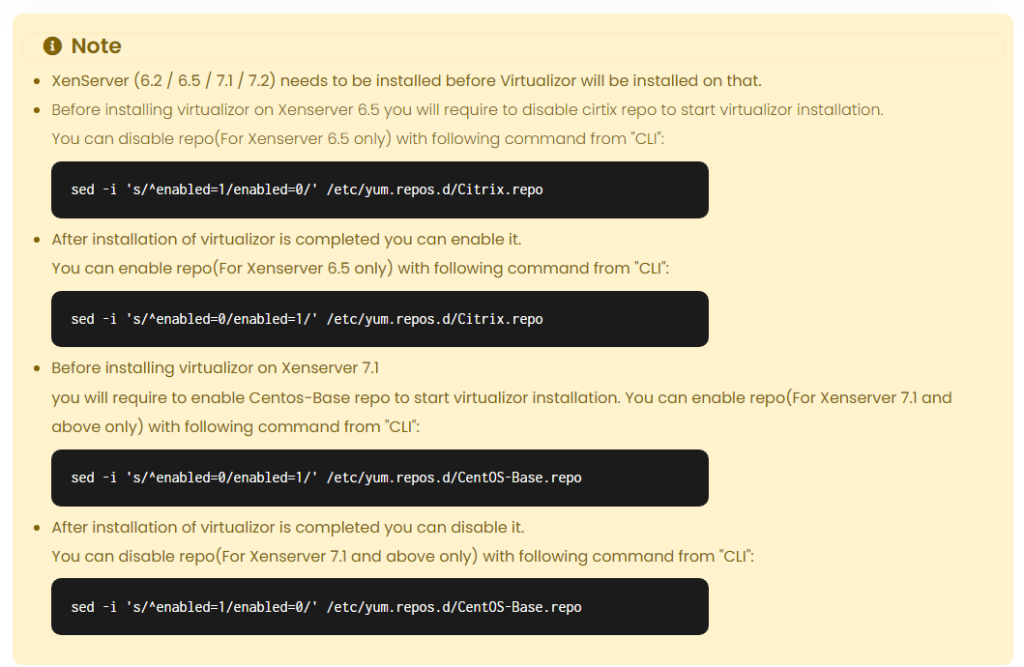
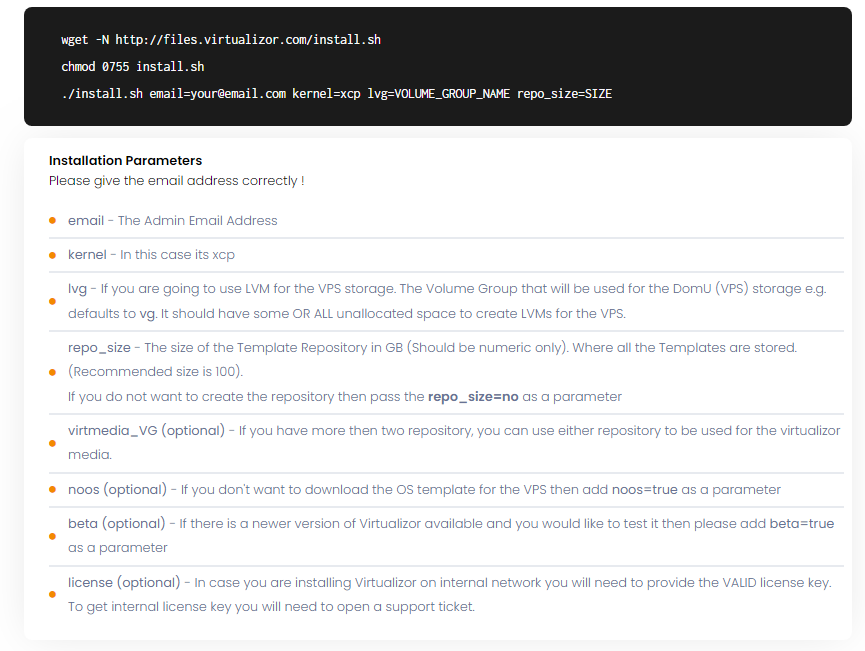
Installation
Drive to Shell Terminal (e.g. PuTTY) and SSH to the server. Follow below mentioned commands:
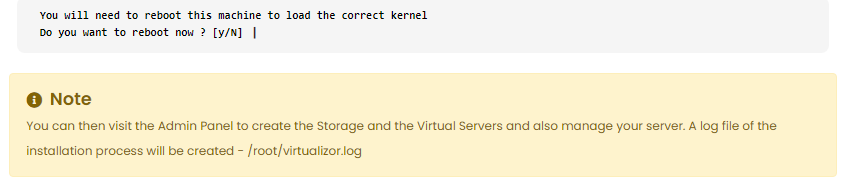
Soon, the installation will start. If the installation process stops then your network speed may be slow, but you can continue the process of installation. Below you can see the image installation done:

Now, you’ve to restart your system.
Login
To login to the Softaculous Virtualizor Admin Panel, visit the following URL
https://Your-Server-IP:4085/
http://Your-Server-IP:4084/
Log in with the server’s root details.

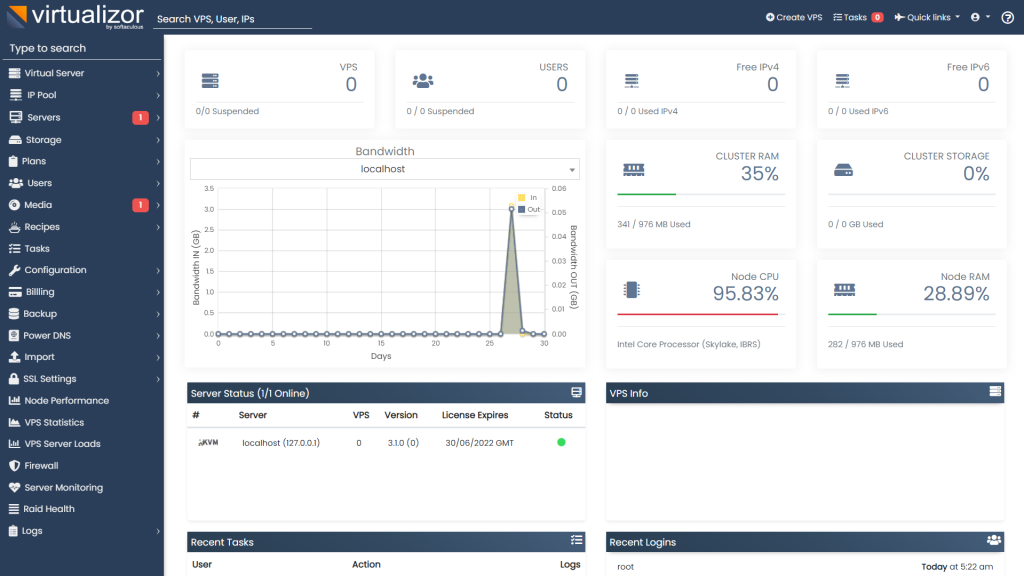
Admin Panel
Once you’ve punched your login details you’ll see the Admin Panel dashboard.
Just by following these steps, you can install XenServer on the Virtualizor